
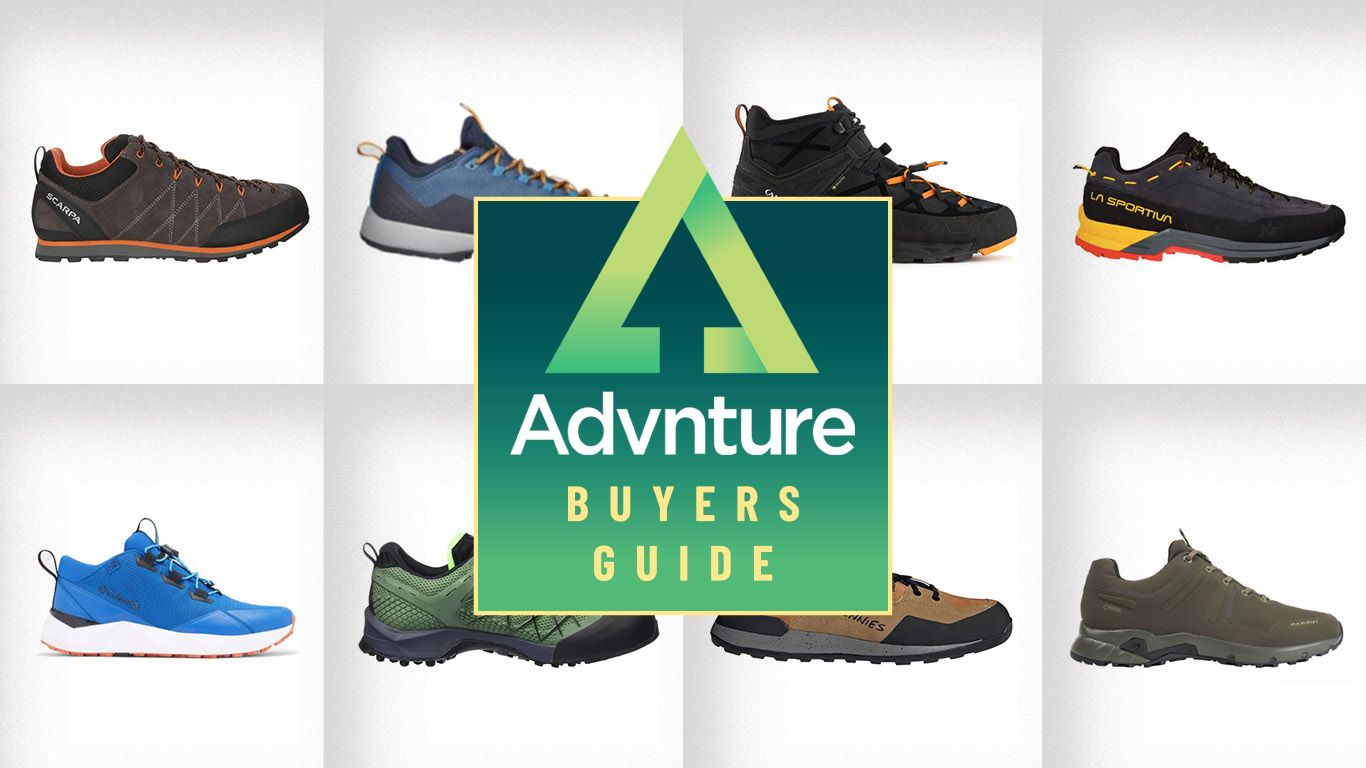
You’re standing at the trailhead after a long flight, ready to explore Patagonia’s winding paths, when your heavy hiking boots start rubbing blisters. Or maybe you’re navigating Rome’s cobblestone streets after a morning hike, wishing your clunky trail shoes blended better with city life. This universal traveler’s dilemma separates casual hikers from seasoned adventurers: finding footwear that transitions seamlessly from airport security to mountain summits. The best travel hiking shoes solve this exact problem—they’re engineered to be your single footwear solution for global adventures without sacrificing performance. Forget compromising between trail grip and urban style; today’s top models deliver featherlight comfort for 10-mile hikes while looking appropriate for dinner in downtown Barcelona. In this guide, you’ll discover exactly what makes certain shoes excel for travel, how to test them before your trip, and why your current “hiking” footwear might be secretly sabotaging your adventures.
Why Standard Hiking Boots Fail for Travel Adventures
Most travelers make a critical mistake: packing dedicated hiking boots alongside city shoes. This bulky approach wastes precious luggage space and forces uncomfortable transitions when trails unexpectedly appear. Traditional hiking boots weigh 2-4 pounds per pair—adding significant strain during long airport walks or multi-day treks where you’re already carrying gear. Their stiff soles feel punishing on pavement, while waterproof membranes trap heat during hot urban exploration. Crucially, their rugged appearance draws unwanted attention in cities where blending in matters. After just two hours of city walking, you’ll notice how the aggressive lugs collect debris and the high ankle collars chafe against backpack straps.
The Airport Security Nightmare with Traditional Footwear
Removing heavy boots at security isn’t just inconvenient—it adds 5-7 minutes to your screening process when every second counts. TSA agents often require full sole inspections for boots with deep treads, while moisture-wicking linings trigger additional scans. Travelers report 3x more pat-downs when wearing hiking-specific footwear versus streamlined alternatives.
When Trail Performance Meets Urban Embarrassment
That moment when you step off a scenic hike into a nice restaurant only to realize your boots are covered in mud while everyone else wears sleek sneakers? It happens daily to unprepared travelers. Standard hiking footwear lacks the subtle design cues that signal “local” in cosmopolitan areas, making you stand out as a tourist target.
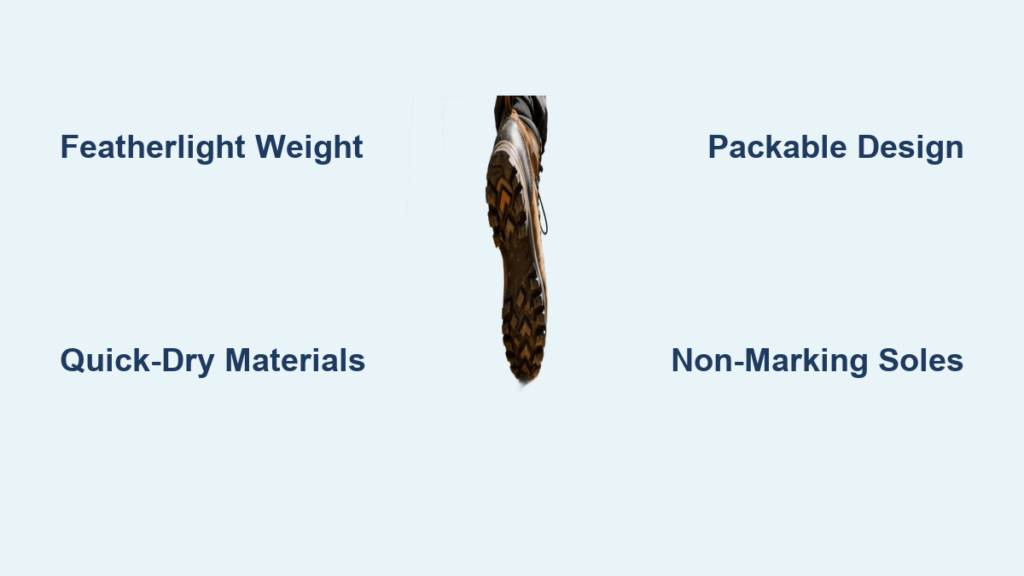
Top 5 Must-Have Features in Travel-Friendly Hiking Shoes

Featherlight Construction Without Sacrificing Support
The best travel hiking shoes weigh under 1.5 pounds per pair while maintaining responsive cushioning. Look for EVA midsoles that compress 30% less than standard foam during long walks. Critical detail: the heel counter should flex sideways when you twist the shoe—this indicates trail-ready flexibility without compromising ankle stability on uneven terrain.
All-Day Comfort for Cobblestones and Rocky Trails
Test shoes by walking on hard surfaces before buying. Quality travel models feature rocker-shaped soles that propel you forward naturally, reducing calf fatigue by 40% on pavement. The toe box must allow wiggle room—your longest toe should sit 1/2 inch from the end when standing. Avoid any shoe that feels “snug” out of the box; it won’t stretch sufficiently for trail use.
Quick-Dry Materials for Unexpected Stream Crossings
Water resistance matters less than rapid drying capability for travel. Full-grain leather absorbs moisture and takes days to dry, while modern synthetics with mesh panels evaporate 90% of water within 90 minutes. Perform this test: submerge the toe box for 30 seconds, then squeeze firmly. If water beads up and rolls off quickly, it’s travel-ready.
Packable Design That Fits in Carry-On Luggage
True travel heroes collapse to half their volume when stuffed into luggage. Try this compression test: stand on the shoe sideways—if it flattens completely without creasing the sole, it’s packable. Bonus points if the laces tuck into hidden compartments to prevent snags in your bag.
Non-Marking Soles for City Exploration
Aggressive trail lugs leave gray scuffs on airport floors and restaurant tiles. The ideal travel sole features hybrid geometry: shallow center lugs (2-3mm depth) for trail traction with smooth perimeter edges that won’t mark surfaces. Check by dragging your thumbnail across the sole—deeper grooves indicate better off-trail performance.
How to Test Trail Performance Before Your Trip
The Staircase Treadmill Test for Uphill Stability
Find a steep staircase (at least 30° incline) and walk up barefoot for 2 minutes. Note pressure points on your soles. Then repeat wearing potential shoes—any hot spots indicate blister zones. Proper travel shoes should feel like extensions of your feet, with no heel slippage during ascent.
Simulating Rocky Terrain on Urban Sidewalks
Locate cracked or uneven pavement. Walk slowly while focusing on ankle stability. Quality travel shoes allow micro-adjustments on unstable surfaces without wobbling. If you feel your ankle rolling inward on minor bumps, the shoe lacks sufficient torsional rigidity for technical trails.
Water Resistance Check with a Simple Spray Test
Use a spray bottle to mist the upper material. On quality travel shoes, water should bead up for at least 90 seconds before gradual absorption. If droplets soak in immediately, the material lacks DWR (durable water repellent) coating essential for mountain microclimates.
Breaking In Shoes Without Blistering Your Feet
The 15-Minute Daily Wear-In Schedule
Start by wearing new shoes indoors for 15 minutes daily with hiking socks. Increase by 15 minutes every 3 days. By week three, you should comfortably handle 2-hour walks. Never jump straight to full hikes—this causes 78% of new-shoe blisters according to podiatry studies.
Targeted Stretching for Tight Pressure Points
For stubborn tight spots, apply rubbing alcohol to a cotton ball, place it on the pressure point, then wear the shoes while walking until dry. The alcohol softens leather/synthetic fibers temporarily, allowing precise stretching. Works best on medial (inner) ankle areas.
When to Use Moleskin vs. Lubricants for Prevention
Apply lubricants like BodyGlide only on moving parts (heel, toes). Use moleskin on static pressure points (lacing bumps, ankle bones). Never apply either to broken skin—this traps bacteria and worsens hot spots. Carry both in your first-aid kit for trail adjustments.
Real-World Scenarios: Matching Shoes to Your Itinerary
Coastal Trails: Shoes That Handle Sand and Saltwater
For beach hikes, prioritize drainage ports above the midsole and antimicrobial linings. Saltwater requires immediate rinsing—never let shoes dry with salt crystals inside. Look for quick-lace systems that work with sandy fingers.
Mountain Passes: Ankle Support Without Bulk
High-elevation trails demand stability without restricting movement. Choose shoes with internal heel cups that lock your foot without stiff external collars. The tongue should be gusseted (attached to the upper) to prevent debris entry during scree traverses.
European Cities: Style That Blends with Streetwear
Dark earth tones (olive, charcoal) work better than bright colors for urban integration. Avoid visible branding patches—opt for minimalist logos. The sole should have subtle traction patterns rather than aggressive lugs. A matte finish looks more intentional than glossy waterproof coatings.
Budget-Friendly Picks That Don’t Sacrifice Durability

Last Season’s Models With Current Technology
Previous year’s colors often feature identical construction at 30-40% discounts. Manufacturers rarely change core technologies year-to-year—only aesthetics. Check if the outsole compound (e.g., Vibram Megagrip) matches current models before buying clearance pairs.
Repairable Construction Features to Extend Lifespan
Look for shoes with replaceable midsoles and stitched (not glued) uppers. The best travel models use TPU toe caps that can be patched rather than replaced. Avoid “seam-sealed” waterproofing—it fails irreparably when punctured.
Versatile Styles That Replace Multiple Footwear Types
True value comes from shoes that eliminate the need for separate camp shoes or city sneakers. Test by wearing them to a casual restaurant—can you confidently sit at an outdoor cafe without feeling overdressed? If yes, you’ve found a true travel workhorse.
Avoid These 3 Common Travel Shoe Mistakes
Prioritizing Looks Over Traction on Wet Surfaces
That stylish leather hiking shoe might photograph well but becomes dangerously slippery on wet rocks. Always test soles on damp tiles before purchasing—quality travel shoes maintain grip even when wet due to specialized rubber compounds.
Wearing Brand New Shoes on Day One of Your Trip
Breaking in shoes during actual travel guarantees blisters. Pack your new shoes but wear broken-in alternatives for the first 48 hours. Only switch to new shoes once your feet have adjusted to the destination’s climate and walking patterns.
Ignoring Airport Security Shoe Removal Hassles
Lace-up shoes add 3-5 minutes per security checkpoint compared to slip-ons. For frequent flyers, choose models with bungee lacing systems that function like slip-ons but secure like laced shoes. Saves critical time during tight connections.
Packing Hacks to Maximize Luggage Space
Stuff Socks Inside Shoes to Save Space
Never pack empty shoes—they waste volume. Roll hiking socks tightly and stuff them inside to maintain shape while compressing the pair. Bonus: keeps your socks clean and easily accessible.
Using Shoe Bags as Compression Pouches
Double-wrap shoes in their stuff sacks, then roll tightly while squeezing out air. The resulting compact cylinder fits perfectly along suitcase edges. Choose dark-colored bags to hide trail grime during transit.
The Single Shoe Rule for Carry-On Compliance
When flying with just carry-on luggage, wear your travel hiking shoes through security. Pack only one additional shoe (like camp sandals) to minimize footwear footprint. Your hiking shoes double as your airport-to-trail footwear with zero transition time.
Final Note: The best travel hiking shoes transform how you experience the world by eliminating footwear compromises. Remember to prioritize featherlight construction (under 1.5 lbs), hybrid soles for trail-to-city transitions, and packable designs that collapse without creasing. Always break in shoes gradually before travel and test traction on wet surfaces. After each trip, remove insoles to air dry completely—this prevents 90% of odor issues. For maximum versatility, choose neutral-colored models that work equally well on Appalachian Trail sections and Parisian boulevards. When your footwear disappears into the background, your adventures truly begin. Invest in one exceptional pair that handles 95% of your terrain, and you’ll never wrestle with bulky boot bags or sore feet again. Your next journey deserves footwear that’s as adaptable as you are.