
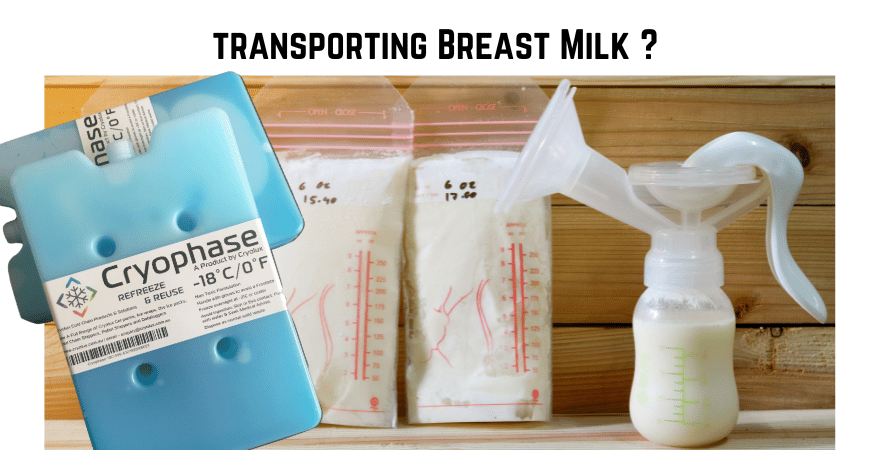
You’re staring at your freezer stash—hundreds of ounces of liquid gold—and a boarding pass that leaves in 48 hours. Whether it’s a business trip, family emergency, or long-awaited vacation, traveling with frozen breast milk can feel overwhelming. The good news? With the right preparation and insider knowledge, you can transport your precious supply safely across town or across continents. This guide walks you through every step of traveling with frozen breast milk, from navigating TSA screening to maintaining sub-zero temperatures during 15-hour flights. You’ll learn exactly what containers work best, how to handle dry ice safely, and what to expect at security checkpoints—so you can focus on your destination, not your milk supply.
Navigating TSA Screening for Frozen Breast Milk Without Delays
Frozen breast milk gets special treatment at airport security. Unlike your shampoo or snacks, TSA classifies it as medically necessary liquid with no quantity limits—whether your baby travels with you or not. This exemption lets you carry unlimited frozen breast milk in both carry-on and checked bags, but only if you declare it properly.
What to Say and Do at Security Checkpoints
When approaching TSA, immediately tell the officer: “I’m traveling with medically necessary breast milk exceeding 3.4 ounces.” This triggers a separate screening process that keeps your milk intact. Here’s exactly what happens next:
- Step 1: Remove all milk containers from your bag and place them in a separate bin
- Step 2: Officers will test containers externally using explosive trace detection swabs
- Step 3: For opaque bags, expect vapor analysis screening (adds 5-10 minutes)
- Step 4: Never allow testing equipment insertion into your milk containers
Critical mistake to avoid: Don’t wait until your bag is screened to declare your milk. Proactively announcing it prevents bag rescreening delays that could thaw your supply.
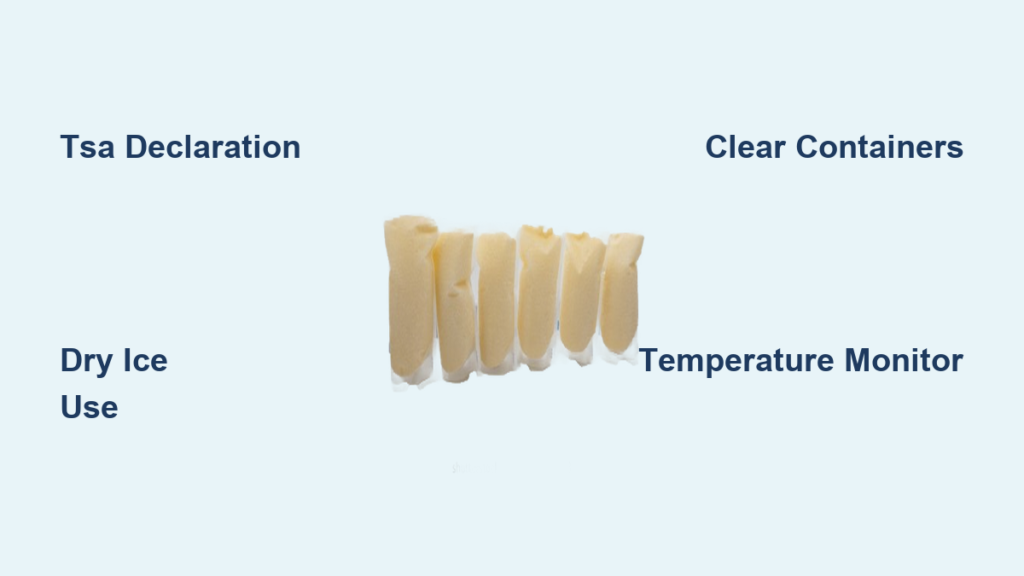
Why Clear Containers Save You 15 Minutes at Screening
TSA officers can visually verify clear plastic bottles through Bottle Liquid Scanners, skipping lengthy alternative screening. Opaque bags or foil pouches always require vapor analysis—a process where they check air molecules escaping the container. If you must use breast milk bags, freeze them inside rigid containers first. This lets officers see the solid block of milk through scanners while protecting against leaks.
Dry Ice Requirements for Flights Over 12 Hours
When your travel exceeds half a day, dry ice becomes essential. This solid carbon dioxide maintains temperatures at -109°F without creating liquid water like regular ice, making it the only reliable option for long-haul frozen breast milk transport.
Calculating Your Exact Dry Ice Needs
Use this formula based on cooler size and travel duration:
– 5-10 pounds keeps milk frozen for 24 hours in a standard cooler
– Add 2-3 pounds for each additional 12-hour period
– Place dry ice on top of milk containers (cold air sinks)
Pro tip: Pack dry ice in newspaper-wrapped blocks rather than pellets. Blocks sublimate slower, extending cooling time by 30%.
Non-Negotiable Dry Ice Safety Rules
Ignoring these protocols risks frostbite or carbon dioxide exposure:
– Always wear oven mitts and safety goggles when handling
– Use foam coolers only—never airtight containers (pressure buildup causes explosions)
– Transport in car trunks—never passenger compartments of SUVs or vans
– Ventilate during air travel—notify airline staff immediately upon arrival
Emergency action: If you smell dry ice (similar to carbonated water), leave the area immediately. Carbon dioxide buildup causes dizziness and breathing difficulties.
Packing Your Frozen Breast Milk for Maximum Security
Your container choice directly impacts both milk safety and screening speed. Follow these professional packing protocols for incident-free travel.
Container Hierarchy: What Works Best
Top choice: Clear plastic bottles with screw caps (4-8 oz size)
Second choice: Breast milk bags inside rigid food containers
Avoid: Opaque pouches or foil-lined bags unless double-bagged
Packing sequence matters:
1. Freeze milk completely 24 hours pre-travel
2. Pre-chill your cooler with ice packs
3. Pack oldest milk on top for first-use access
4. Place temperature monitor between layers
Temperature Monitoring You Can’t Skip
A digital thermometer taped to one milk container provides critical data. For flights over 8 hours, add a Bluetooth sensor that alerts your phone if temperatures rise above 25°F. Most airport ice machines can provide emergency ice packs if your cooler warms during layovers.
International Travel: Customs Declarations & Voltage Issues
https://www.cdc.gov/breastfeeding/breastfeeding-special-circumstances/traveling-with-breast-milk.html
Crossing borders adds layers of complexity beyond standard TSA procedures. These country-specific considerations prevent customs delays and equipment failures.
Required Documentation at Border Control
Carry a doctor’s note stating medical necessity when traveling without your baby—especially with over 2 liters of milk. Some countries like Australia and Japan require advance declaration of biological materials. Always print your destination country’s specific breast milk import rules from their embassy website.
Avoiding Pump Failures Abroad
Most electric breast pumps fry when plugged into foreign outlets. Before travel:
– Verify your pump’s voltage range (usually 100-240V)
– Pack a universal adapter with grounding pin
– Bring backup batteries—hotel power strips often lack sufficient outlets
Critical note: European outlets frequently lack the amperage needed for double electric pumps. Test your setup before departure day.
Emergency Thaw Response Protocol
Even perfect planning fails sometimes. When your milk starts thawing mid-journey, these triage steps determine whether you can save it.
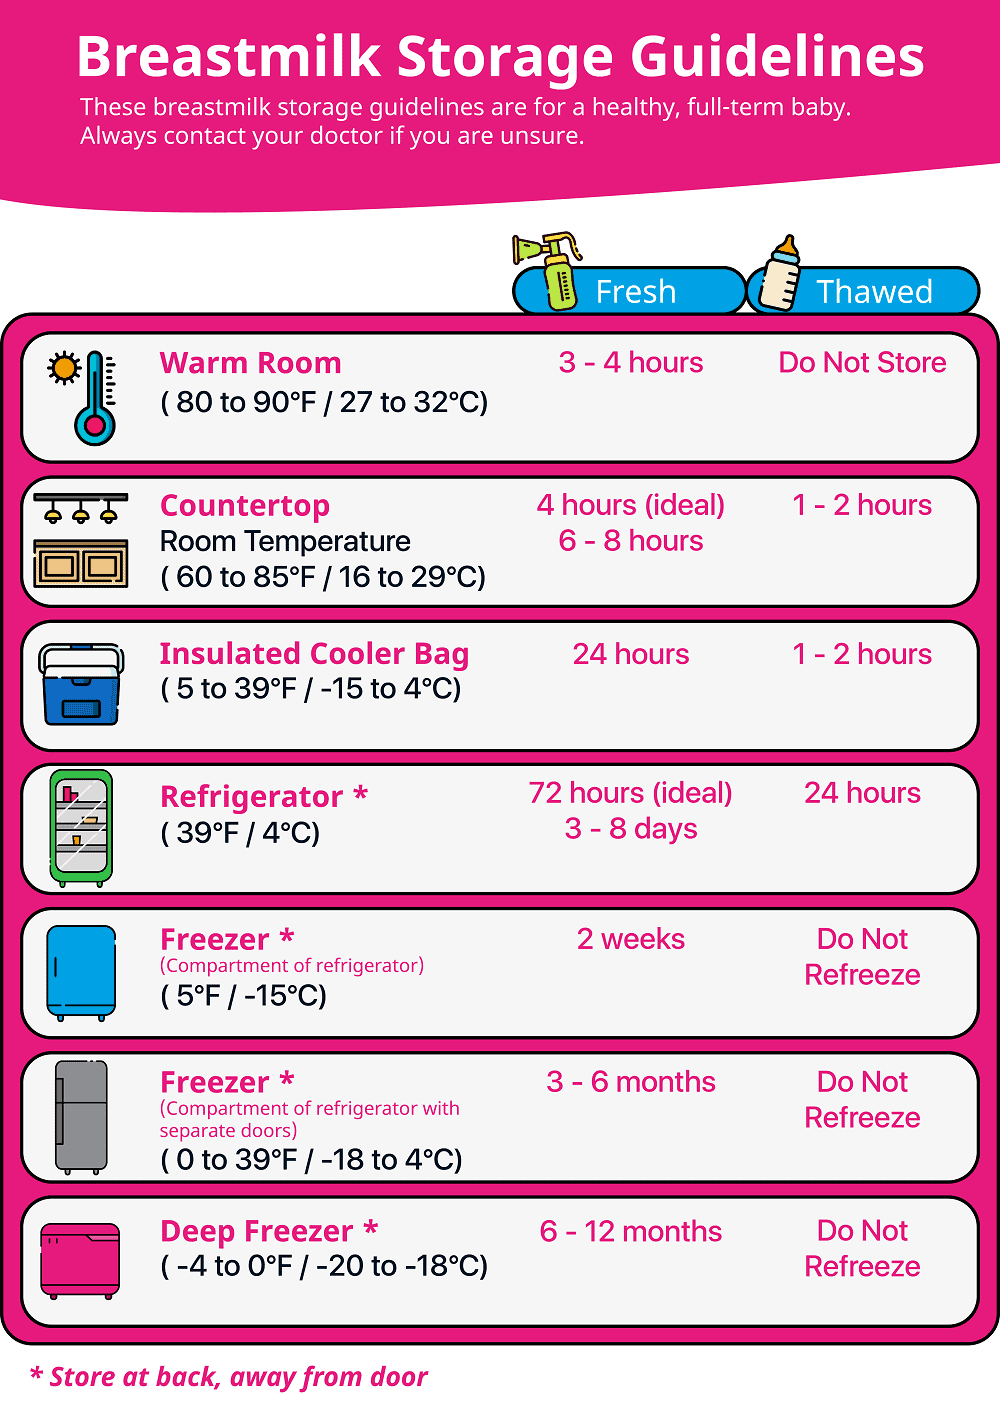
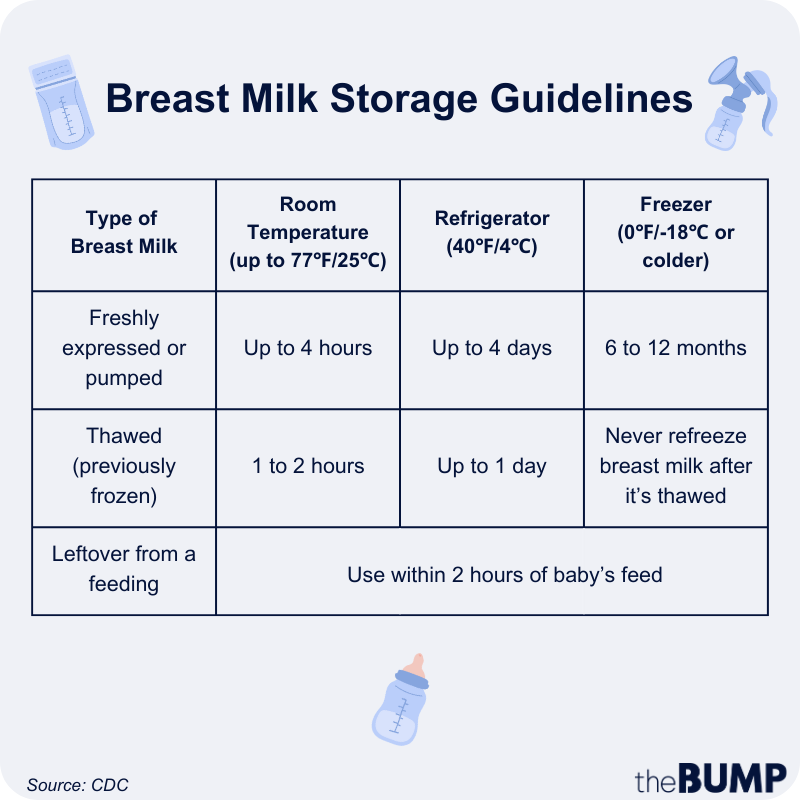
When Partially Thawed Milk Is Still Usable
Slushy consistency: Refreeze immediately upon arrival—safe for 24 hours
Fully liquid but cold (below 40°F): Use within 4 hours or discard
Room temperature for over 2 hours: Discard immediately
Never attempt to refreeze completely thawed milk—it loses critical antibodies and nutrients. If stuck without refrigeration, prioritize using thawed milk first while keeping frozen reserves intact.
Finding Emergency Supplies at Airports
When dry ice runs low or coolers fail:
– Dry ice: Call airport shipping centers (FedEx/UPS) 2 hours before arrival
– Ice packs: Request from airport pharmacies or Starbucks (they discard unused stock)
– Freezer access: Ask gate agents for crew lounge storage—most accommodate
Post-Flight Milk Recovery Checklist
Your journey isn’t over until milk reaches proper storage. Follow this sequence immediately upon landing:
- Verify temperature with your thermometer (discard if above 40°F)
- Transfer to freezer within 30 minutes—hotel mini-fridges don’t freeze milk
- Call ahead for commercial storage: Request freezer access from hotel management
- Document incidents: Note thaw times for future trip planning
Pro tip: Pack one container of pre-thawed milk in your carry-on for immediate post-flight feeding. This creates a buffer while you secure proper storage.
When to Contact TSA Cares for Screening Accommodations
For complex travel scenarios, bypass standard security lines by contacting TSA Cares 72 hours pre-flight:
– Phone: (855) 787-2227 (open 8AM-11PM ET, 365 days)
– Online: Submit requests via TSA.gov 72+ hours before travel
– Special requests: Pre-clearance for large coolers, private screening rooms
What to say: “I require breast milk screening accommodations for [number] pounds of frozen supply requiring dry ice.” They’ll assign a dedicated officer to streamline your process.
Key Takeaway: Traveling with frozen breast milk requires strategic container selection, precise dry ice calculations, and proactive TSA communication—not perfection. Master these three elements to transport your supply safely across any distance. Always pack 20% more cooling capacity than you think you need, and arrive 90 minutes early for security. Your liquid gold deserves this level of care.
Final pro tip: Save this guide and TSA’s breast milk policy PDF offline before travel—airport Wi-Fi often fails when you need critical information most.