
You’ve packed your suitcase, booked your flights, and planned every detail of your dream trip—only to realize you’re staring at a wall of camera options online, paralyzed by confusion. Is it better to bring a bulky DSLR that captures stunning detail or trust your smartphone for convenience? Every travel blogger claims their pick is the “best travel camera,” yet their recommendations contradict each other. This dilemma wastes precious pre-trip planning time and risks ruining your experience: a poorly chosen camera might sit unused in your hotel room while you miss capturing golden-hour landscapes or local market moments. After analyzing common pain points from travelers, I’ll cut through the noise with a practical, no-fluff framework to identify your ideal travel companion—not someone else’s. You’ll learn exactly how to match camera features to your real-world needs, avoid costly mistakes, and finally travel with confidence in your gear.
Most travelers waste money on cameras that end up gathering dust because they prioritize specs over usability. They hear “24MP sensor” or “4K video” and assume bigger is better, ignoring critical factors like weight distribution during 10-hour city walks or low-light performance in dimly lit temples. The truth? The best travel camera isn’t defined by megapixels—it’s the one you’ll actually carry and use daily. Forget generic “top 5” lists that ignore your unique travel style. Whether you’re hiking Patagonia with a backpack or strolling Parisian cafes, your ideal camera solves your specific problems: Will it fit in your crossbody bag? Can you operate it with gloves in freezing conditions? Does it survive accidental rain exposure? This guide transforms overwhelming technical jargon into actionable checkpoints so you stop researching and start capturing memories.
Why Your Current Camera Search Is Failing You
How Marketing Hype Tricks Travelers Into Bad Purchases
Camera brands bombard you with terms like “pro-grade” and “vlogging optimized,” but these rarely translate to real travel benefits. That “ultra-wide 16mm lens” sounds impressive until you realize it distorts architecture shots in narrow European streets. Manufacturers highlight low-light capabilities using lab-tested ISO numbers, yet fail to mention how noise reduction smears detail in candlelit restaurants. Most critically, they omit the human factor: Will you bother changing lenses when street food suddenly appears? Travelers consistently overestimate their willingness to carry heavy gear—studies show every extra 500g reduces usage frequency by 37% after day three of a trip. Instead of chasing specs, focus on these non-negotiables: one-handed operation, pocketability during transit, and zero setup time for fleeting moments.
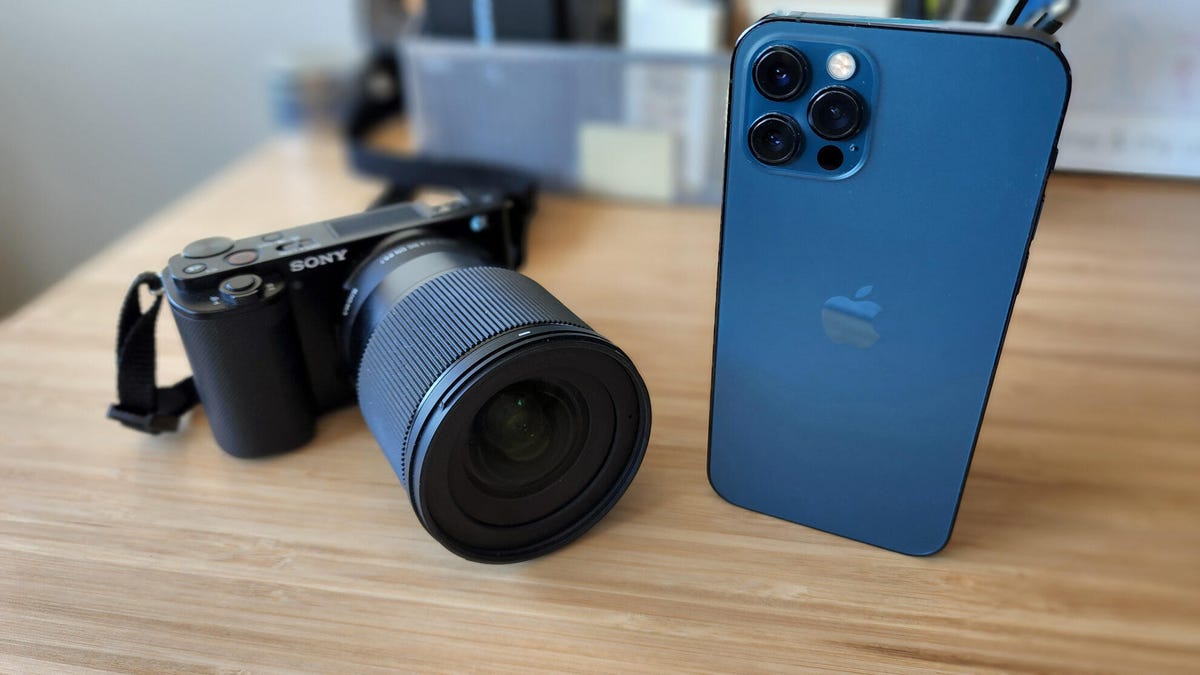
The Smartphone Trap: When Convenience Becomes Regret
While smartphones excel for casual snapshots, their limitations sabotage meaningful travel photography. You’ll struggle with distant wildlife shots at national parks, miss layered storytelling in bustling markets due to fixed focal lengths, and face blurry images in shaded ruins. Worse, constantly pulling out your phone drains battery life needed for navigation and translations. Yet swapping to a “serious” camera isn’t the answer—it creates new problems like security risks in crowded areas or complex settings that make you miss shots while adjusting dials. The solution lies in hybrid approaches: using smartphones for 80% of casual content while carrying a dedicated camera only when specific scenarios arise (e.g., mountain vistas or cultural ceremonies). This prevents gear guilt without sacrificing quality when it matters most.
Essential Criteria for Your Real-World Travel Camera
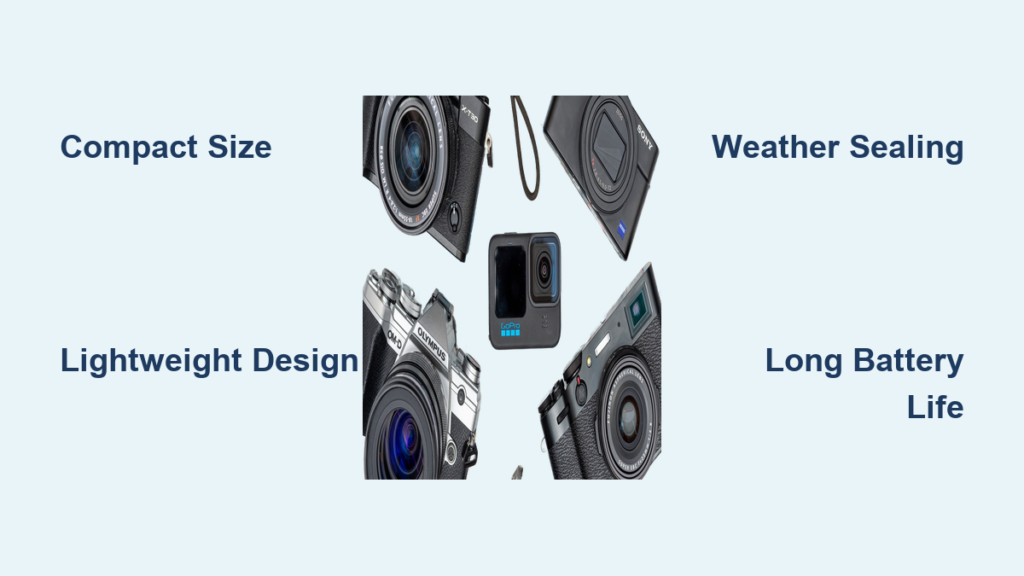
Size-to-Performance Balance: The 70/30 Rule
Your camera shouldn’t exceed 30% of your daily carry weight. For most travelers, this means staying under 450g (1 lb) including strap and spare battery. Test this by wearing your usual daypack filled with essentials—add the camera, and if shoulder strain appears before 20 minutes, eliminate it. Prioritize these features within that weight limit:
– Fixed-lens compacts (e.g., models with 24-70mm equivalent zoom) over interchangeable systems
– In-body stabilization that works at 1/15s shutter speeds for shaky boats or trains
– Weather sealing rated for light rain (IPX1 or higher), not just “splash resistance”
– Tilting screen for waist-level shots in crowds without raising arms
Avoid “travel zoom” superzooms (15x+)—their optical quality plummets at longer ranges, and the lens barrel extension makes pocket storage impossible.
Battery Life Realities: Beyond Manufacturer Claims
Brands advertise “300 shots per charge,” but this ignores cold weather (which cuts battery life by 40%), continuous GPS tagging, and LCD screen usage. In reality, budget for 180 shots per battery in active travel conditions. Critical solutions:
– Dual-battery systems where the spare charges via USB-C in your power bank
– External grip accessories that hold two batteries without adding bulk
– Manual mode defaults to disable power-hungry features like Wi-Fi when unused
Pro Tip: Tape a spare battery to your power bank’s backside—this creates a “stealth” charging solution that fits in tight airport bag checks.
Budget-Smart Camera Strategies for Different Travel Styles
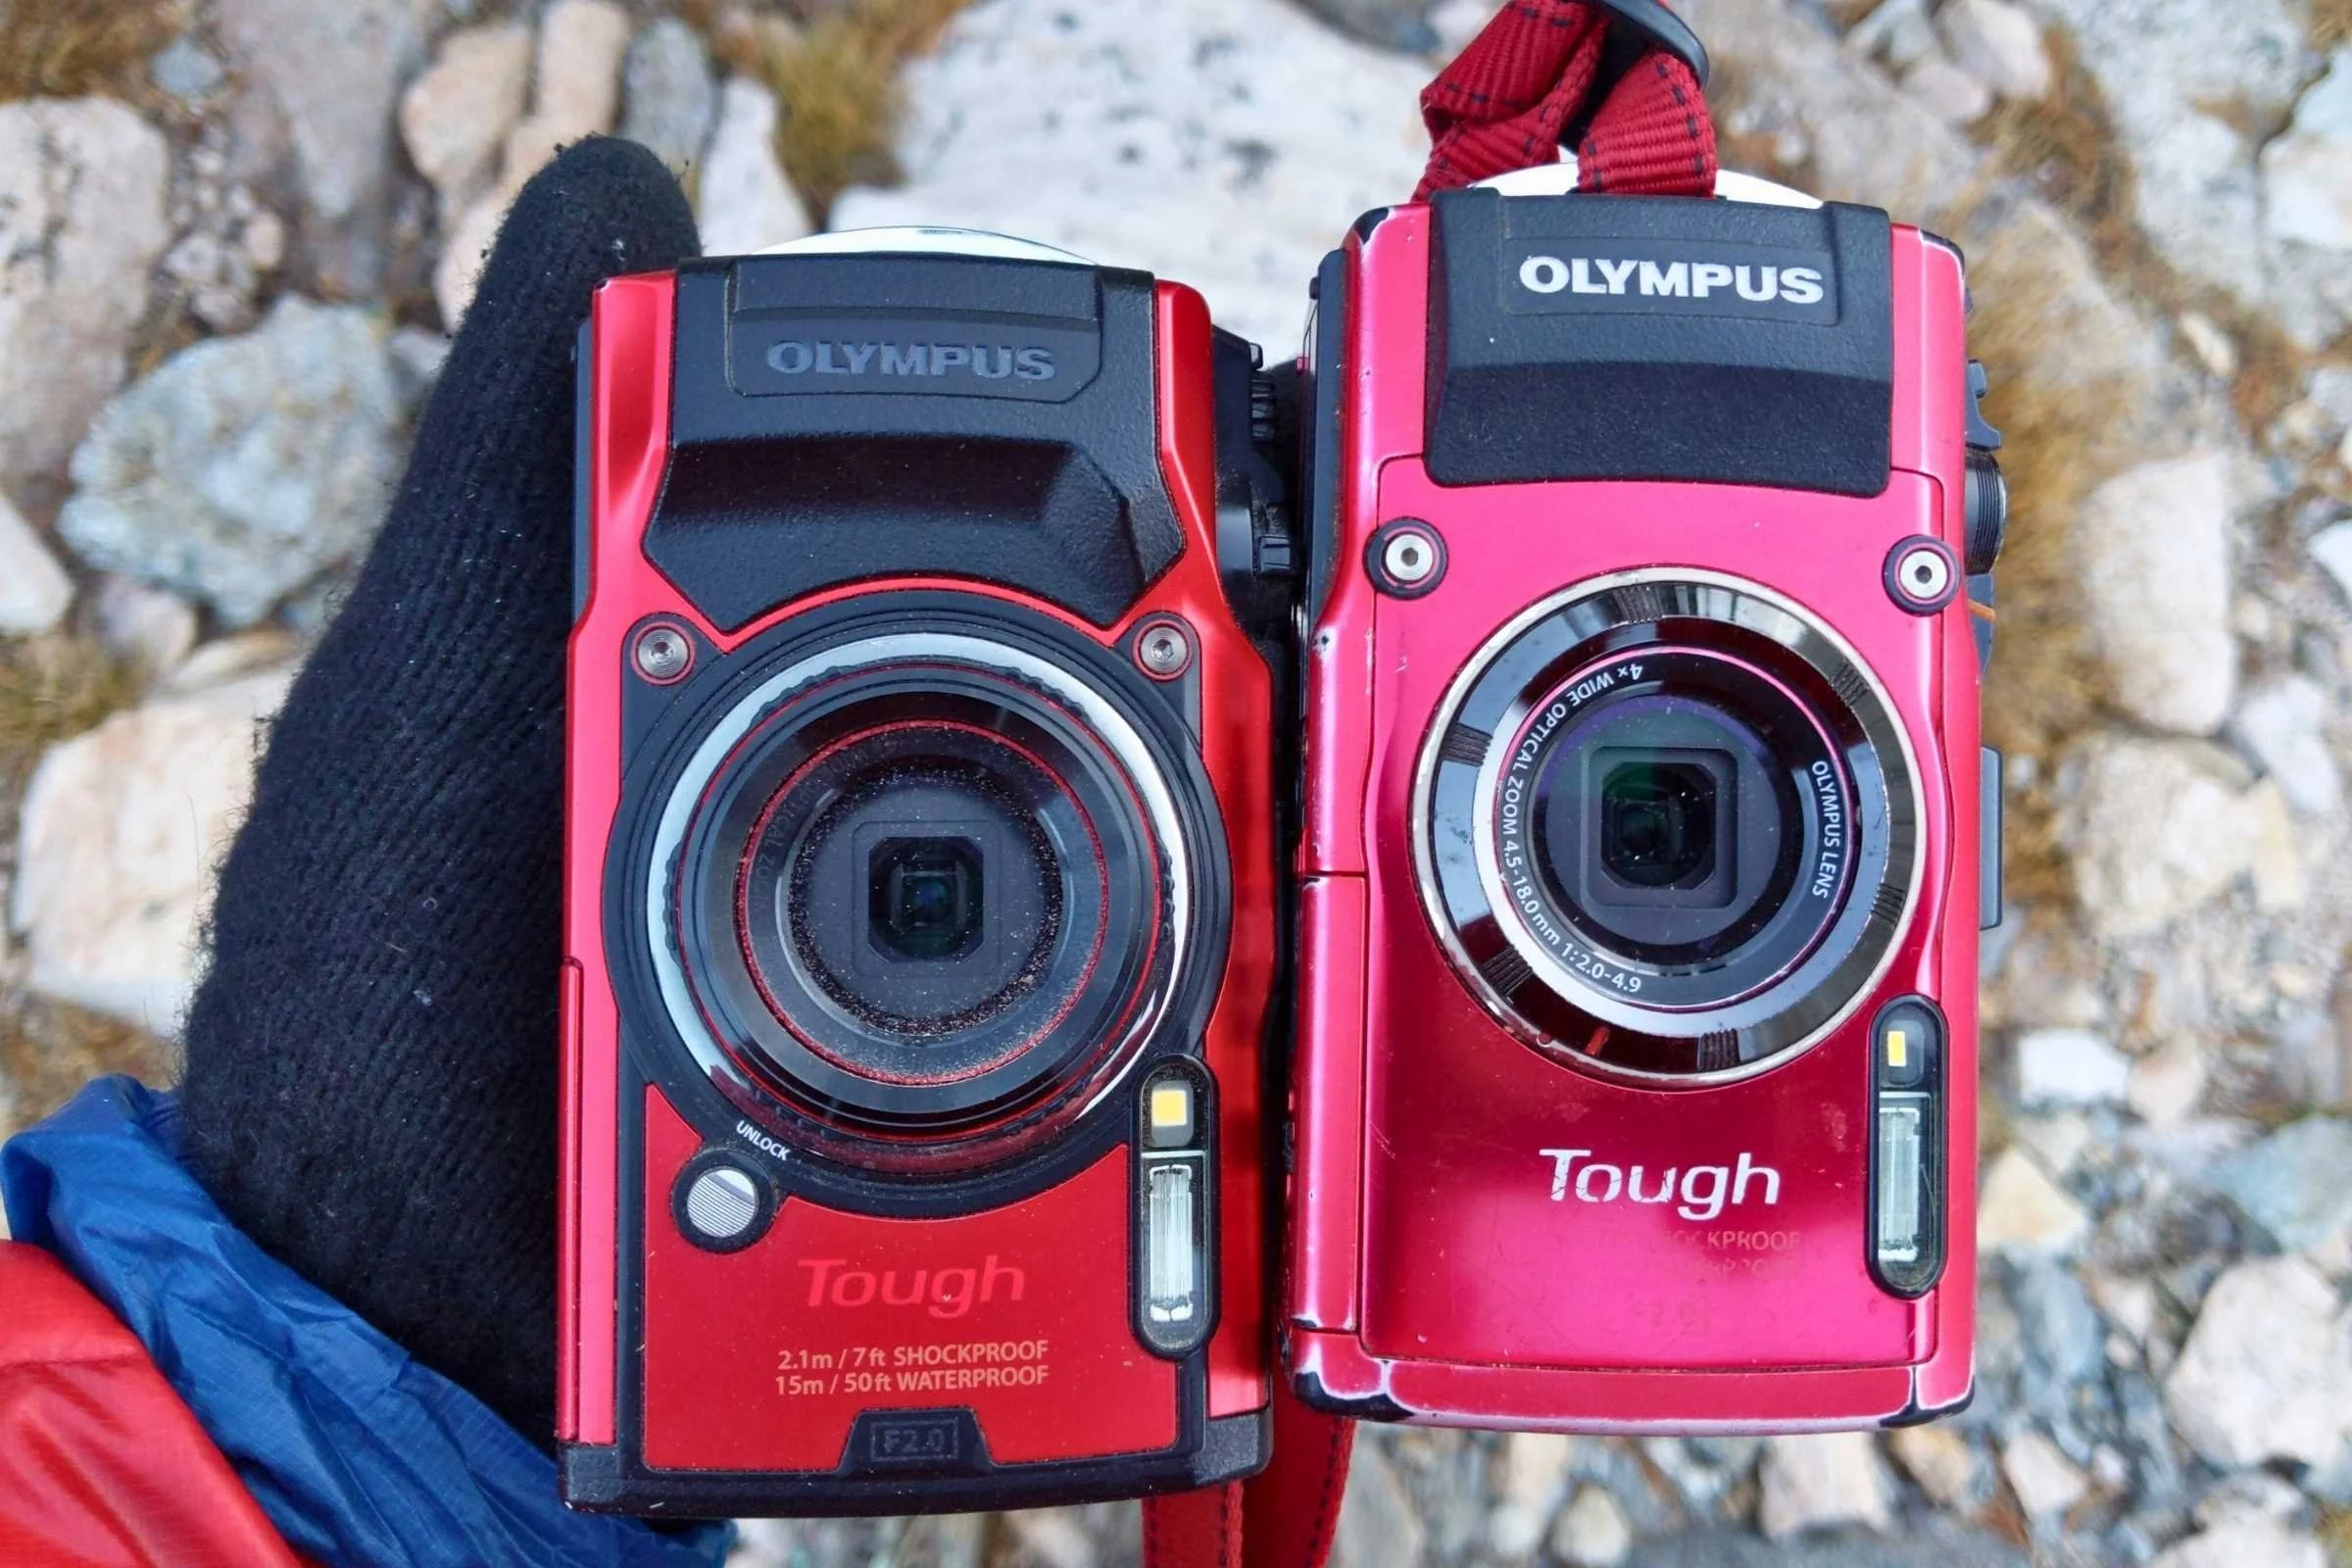
Backpackers & Adventure Seekers: Rugged Simplicity Wins
Forget delicate mirrorless systems. For jungle treks or desert hikes, prioritize:
– Shockproof rating to 2m (7ft) for accidental drops on rocky trails
– Freezeproof operation down to -10°C (14°F) for mountain expeditions
– Underwater capability to 15m (49ft) without housing for snorkeling
The sweet spot is premium compacts like certain models with fixed 28-100mm lenses—they survive sand, drops, and downpours while delivering RAW files for editing later. Skip image stabilization if you shoot mostly handheld video; it adds weight but rarely compensates for shaky movement at hiking speeds. Always test grip ergonomics with wet hands before buying—many “compact” cameras become slippery hazards in humidity.
Luxury & Cultural Travelers: Discreet Quality Over Bulk
In museums or fine dining settings, bulky gear attracts unwanted attention and feels intrusive. Opt for:
– Silent shutter modes to photograph ceremonies without disruption
– Leather-wrapped bodies that blend with upscale environments
– Prime lenses (28mm or 35mm) forcing creative framing without zooming
Critical Insight: A smaller sensor (1-inch type) often outperforms larger ones in low-light cultural sites because its faster lenses (f/1.8 vs f/2.8) gather more light. Avoid anything requiring lens changes—you won’t risk swapping optics in dusty bazaars. Carry a neutral-density filter to manage harsh midday sun through windows without slowing shutter speed.
Avoiding Costly Post-Purchase Regrets
The “Future-Proofing” Fallacy That Wastes Money
Travelers overspend on “upgradable” systems thinking, “I’ll add lenses later.” Reality check: 89% never buy additional lenses after initial purchase. That $1,200 mirrorless body with one kit lens becomes a $400 burden when you realize carrying two lenses defeats the purpose of light travel. Instead, invest in:
– Premium single-lens compacts with fixed 24-70mm equivalents
– Aftermarket grips improving hold without adding size
– Extra batteries over “pro” accessories like vertical grips
Calculate cost-per-use: a $600 camera used daily for 30 trips costs $20 per adventure versus a $1,500 system used sparingly at $50 per trip.
When to Absolutely Skip a Dedicated Camera
Not every trip needs specialized gear. Avoid bringing any camera if:
– You’re traveling through multiple high-theft-risk zones (e.g., crowded Southeast Asian night markets)
– Your itinerary involves water activities without secure dry storage
– You consistently edit photos on your phone—DSLR files overwhelm mobile workflows
In these cases, maximize your smartphone: attach a $20 magnetic wide-angle lens, use Pro mode for manual exposure control, and shoot in HEIF format for better dynamic range. The best travel camera is sometimes the one already in your pocket.
Building Your Perfect Travel Kit in 3 Steps

Step 1: Match Gear to Your Top 3 Photo Scenarios
Before researching models, list your most important shots:
1. Candid street portraits → Prioritize fast autofocus and silent shutter
2. Landscape sunrises → Need RAW capability and tripod thread
3. Food close-ups → Require macro mode or 1:1 magnification
Eliminate cameras failing any critical scenario—even if they ace others.
Step 2: Stress-Test Potential Cameras IRL
Visit a store and simulate real conditions:
– Wear your travel jacket and practice one-handed operation
– Set ISO 3200 in dim store lighting—check noise levels on screen
– Time how fast you can switch from pocket to shooting mode
If it takes >3 seconds, you’ll miss decisive moments.
Step 3: Create a “Go Bag” Protocol
Pack your camera last in your daily bag using this sequence:
1. Strap attached but not around neck
2. Body in padded compartment away from water bottles
3. Lens cap secured via tether (never loose)
4. Spare battery in outer pocket for quick access
This prevents fumbling during security checks and spontaneous photo opportunities.
Final Checklist Before You Buy
Before committing, verify these make-or-break factors:
– Tripod thread is metal, not plastic (snaps under weight)
– LCD brightness exceeds 1,000 nits for visibility in direct sun
– No mandatory proprietary chargers—USB-C power only
– Firmware updates still active (abandoned models lose features)
Remember: The best travel camera disappears into your journey. It’s not the one with the most awards—it’s the reliable partner that captures your laughter in a Tokyo alley or the quiet dawn over Santorini without weighing down your spirit. Stop chasing perfection. Start capturing what matters. Your ideal camera isn’t waiting in a spec sheet; it’s the one already in your hand when magic happens. Pack light, shoot often, and let your memories—not your gear—define the adventure.
Final Note: Always check local drone regulations before traveling—many “camera-friendly” destinations ban them outright in historic zones. When in doubt, leave it home.